
How to Set Up Google Business Profile (Step-by-Step)

Quick Answer: Google Business Profile is a free tool that puts your business on Google Maps and local search results. Setting it up takes under 30 minutes. Done right, it helps nearby customers find you — whether you run a salon, clinic, restaurant, or kirana store.
Table of Contents
Most small business owners in India have a Google account. Few have a Google Business Profile. That gap is costing them customers every single day.
Here’s the thing: when someone types “dentist near me” or “best biryani in Dehradun” into Google, what shows up first? Not websites. Not Instagram pages. Google Maps listings — also called Google Business Profiles. The businesses with complete, verified profiles appear at the top. The ones without them simply don’t show up.
This guide walks you through every step of setting up your Google Business Profile from scratch. No tech experience needed. By the time you finish reading, you’ll know exactly what to do — and why each step matters for getting found locally.
If you’ve already read our Local SEO guide, think of this as the practical next step. Local SEO and your Google Business Profile work together. One without the other leaves results on the table.
What Is Google Business Profile — and Why Does It Matter?
Google Business Profile (GBP) — formerly called Google My Business — is a free listing that shows your business on Google Search and Google Maps. It displays your name, address, phone number, hours, photos, and reviews directly in search results.
For local businesses, it’s one of the most powerful visibility tools available. And it costs nothing to set up.
A complete Google Business Profile helps you:
- Appear in “near me” searches
- Show up on Google Maps
- Collect and display customer reviews
- Share your hours, menu, services, and photos
- Let customers call or message you directly from Google
A salon in Lajpat Nagar, a clinic in Baner, a restaurant in Koramangala — all of them benefit from the same thing: showing up when a nearby customer searches for what they offer.
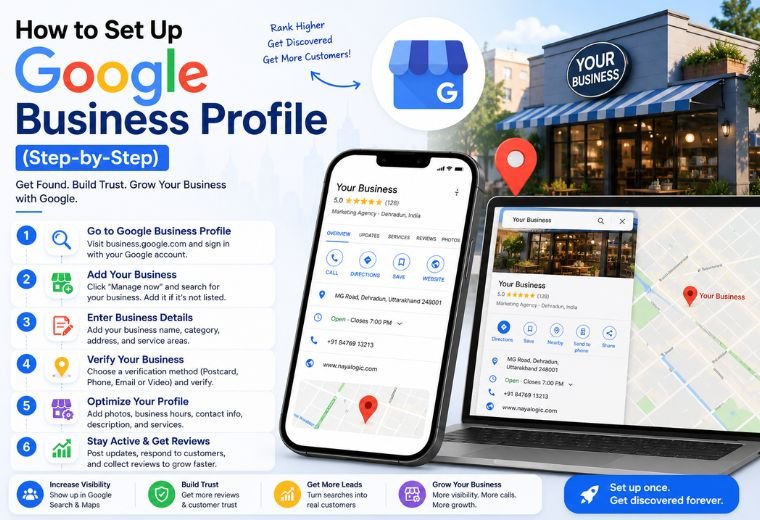
Step 1: Go to Google Business Profile and Sign In
Open your browser and go to business.google.com. Sign in with the Google account you want linked to your business. Use a business email if you have one — not a personal Gmail.
Click “Manage now” to begin.
Step 2: Enter Your Business Name
Type your business name exactly as it appears on your signboard, visiting card, or website. Do not add extra keywords here. Google penalizes profiles that stuff keywords into business names (e.g., “Sharma Salon Best Hair Cut Dehradun” — avoid this).
If your business name already appears in a dropdown, someone may have created a listing before. You can claim it in a later step.
Step 3: Choose the Right Business Category
This is one of the most important steps. Your category tells Google what kind of business you run, which determines what searches you appear in.
- A dental clinic should choose “Dentist” — not just “Health”
- A kirana store should choose “Grocery Store”
- A real estate agent should choose “Real Estate Agency”
Pick the most specific category that fits your primary service. You can add secondary categories later.
Quick tip: Search what your competitors are using by checking their GBP listings. Look for patterns in the top-ranking businesses in your area.
Step 4: Add Your Location (If Customers Visit You)
If customers come to your shop, clinic, or restaurant, select “Yes” and enter your full address. Be accurate — this pins your location on Google Maps.
If you run a service-area business (like a plumber or home tutor who goes to customers), select “No” and specify the areas you serve instead.
For a clinic in Pune or a salon in Chandigarh, getting the address right is critical. Customers use Google Maps to navigate directly to you.
Step 5: Add Your Phone Number and Website
Enter your primary contact number — the one customers should call. If you use WhatsApp for business, use that number.
Add your website URL if you have one. No website yet? NayaLogic’s website development service can get you one built and ready to link.
Step 6: Verify Your Business
Google needs to confirm your business is real. Verification options include:
- Postcard by mail — Google sends a code to your business address (5–14 days)
- Phone or email — Available for some businesses, faster
- Video verification — Google may ask you to record a short video of your location
- Instant verification — Available if your business is already verified with Google Search Console
For most small businesses in India, postcard verification is the standard route. When the postcard arrives, log back into your GBP and enter the code. Until you verify, your profile won’t appear publicly on Google.
Step 7: Complete Your Profile — Don’t Skip This
Verification is not the finish line. A half-filled profile ranks lower and converts fewer visitors. Fill in every section.
Business Hours
List your actual opening and closing hours for each day. If you’re a restaurant open late on weekends, reflect that. Inaccurate hours frustrate customers and hurt your reputation.
Business Description
Write 2–3 sentences about what you offer and who you serve. Keep it simple and specific. A good example:
“Sri Lakshmi Clinic offers general physician consultations, preventive health check-ups, and home visit services in Hyderabad’s Kukatpally area. We’re open Monday to Saturday, 9 AM to 7 PM.”
No jargon. No buzzwords. Just clear, useful information.
Services or Menu
List your individual services or menu items. A hair salon can list blow-dry, haircut, color treatment, and bridal packages. A restaurant can upload its full menu. This helps Google match your listing to more specific searches.
Photos
Upload real photos of your:
- Shop exterior (so customers can find you)
- Shop interior
- Products or services in action
- Team members (optional but builds trust)
Businesses with photos receive significantly more clicks and direction requests than those without. Use clear, well-lit images. No blurry or stock photos.
Step 8: Set Up Messaging
Google Business Profile lets customers message you directly from your listing. Turn this on. Respond within 24 hours — Google tracks your response time and may display it publicly.
If managing messages manually feels like too much, WhatsApp automation can help route and respond to inquiries automatically, even outside business hours.
Step 9: Start Collecting Reviews
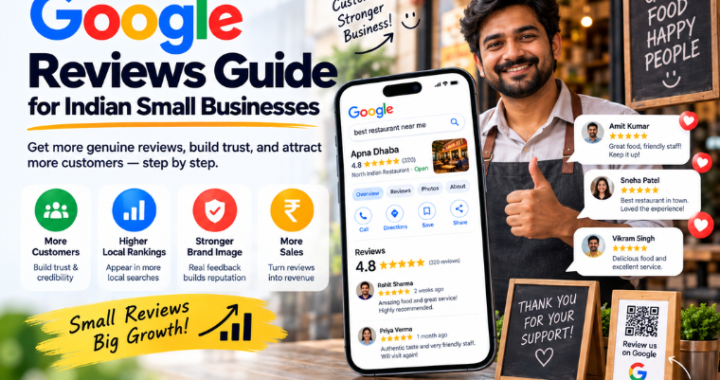
Reviews are one of the biggest factors in local search rankings. A restaurant with 200 reviews and a 4.6 rating will consistently outrank one with 10 reviews, even if the food is better.
Ask your regular customers to leave a review. Make it easy — create a direct Google review link using the GBP dashboard and share it on WhatsApp or at the billing counter.
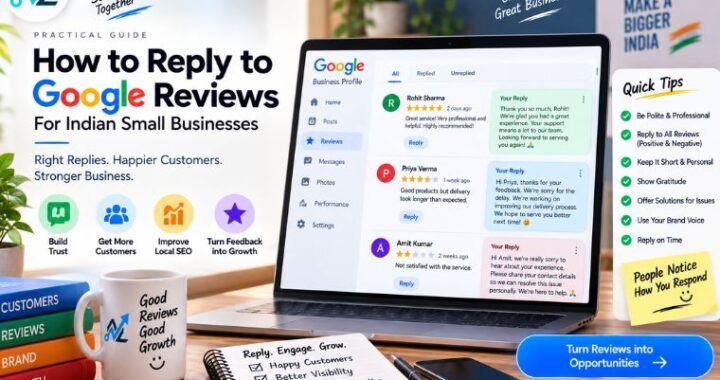
Respond to every review. Thank positive reviewers. Address negative ones calmly and professionally. Need help writing responses? Use NayaLogic’s free Google Review Reply Generator to draft quick, professional replies.
Step 10: Post Updates Regularly
Google Business Profile has a “Posts” feature. Use it to share:
- New offers or discounts
- Seasonal promotions (think Diwali sales, monsoon specials)
- New services or menu additions
- Events or announcements
Businesses that post regularly signal to Google that they’re active. Active profiles rank better. Aim for at least one post per week.
Common Google Business Profile Mistakes to Avoid
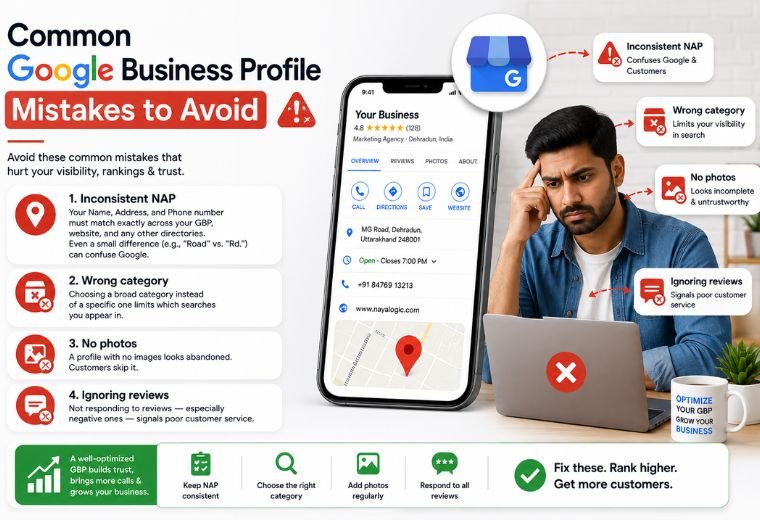
Inconsistent NAP: Your Name, Address, and Phone number must match exactly across your GBP, website, and any other directories. Even a small difference (e.g., “Road” vs. “Rd.”) can confuse Google.
Wrong category: Choosing a broad category instead of a specific one limits which searches you appear in.
No photos: A profile with no images looks abandoned. Customers skip it.
Ignoring reviews: Not responding to reviews — especially negative ones — signals poor customer service.